Posing 101
POSING to Look Good in Pix
Part of the process in a photo session with me is creating the right message in your pictures. What do you want your photographs to say about you? Should they show your soft side or strong? Do you want to appear warm and caring? or cool and confident?
While your facial expression is incredibly important, including micro expressions, your other nonverbal body language also matters. Crossing your arms and leaning back is a very different message than having those arms open with you leaning in.
Things I Watch Out For
You don’t need to know how to pose for your pictures with me; I’ll guide you every step of the way. At the outset, I’ll work to figure out what is natural for you as far as stance, posture, and gestures. Then I’ll start to coach you through how to do what you’re doing so it looks better in camera.
But since I’m probably not following you around with a camera all day as your personal paparazzi, here are some tips to look your best when someone else is pointing a camera at you.
Some of the things I suggest:
- Posture, even during headshot sessions where the rest of your body doesn’t show, is critical. Lift up from your head as if pulled up by a string. Let your shoulders drop down.
- Shoulder position in relation to the camera creates body language. What message do you want to send? Squared up to the camera adds a sense of presence, while angled shoulders soften the look.
- I’ll ask you to extend your neck (a bit) to help position your chin and enhance your jawline to be flattering to the camera. This has the added benefit of reducing any “double chin” concerns and smoothing skin. Bringing your chin forward also brings your eyes closer to the camera, and whatever is closer to the camera appears larger.
- Your “good” side: do you have a preference for one side over the other?
- Connection in your eyes helps you look confident. Squinching helps create this look.
- Expression, from no smile to full on laughter: which do you prefer? Are you #TeamTeeth or closed smiles only?
All About Angles
When you are being photographed, there are three key posing tips to keep in mind:
- If you can, adjust so that you are at a 45-degree angle to the camera, and not straight on. Straight on will give you a wider, more commanding look. Turned at an angle is more slimming.
- Asymmetry is more interesting. Dip your front shoulder - just a little. Push one hip back, with weight to one side and behind you. Go for that S curve. Create triangles with your arms.
- Shoot from slightly above the eye line. No one wants to look up your nose… and it will make your chin look larger. But don’t go too far up, or your forehead gets larger, and your body looks shorter.
If It Bends, Bend It
This is one of the tips I learned early in my journey, and it really does make a portrait more interesting. Bend every joint you can, even if it’s just a little bit: elbows, knees, wrists… even move your shoulders and hips a little. Put some twist in your body, even if you are only having headshots.
Hinge forward *just a bit* at the waist (“nose over toes”) to move your middle back and bring your eyes closer to the camera.

Hands
“What do I do with my hands?” How hands are posed helps tell a story in your images: open, friendly, seductive, strong, shy….
If your hands might show in an image, here are a few tips:
- Have your pinky finger facing the camera, not the wider back of the hand.
- Relax and soften – think delicate ballet hands, not clenched fists or claws… or karate.
- Bend at the wrist.
- Do something – like adjusting clothing or an accessory – that feels “natural.”
- Touch something: your elbow, shoulder, neck, face, waist, hip, even your other fingertips.
Hands on your hips is always a good place to start… or cross your arms, keeping the above tips in mind, and both hands visible.
Think of the waist as the dividing line for finger direction. Hands above the waistline should generally be pointing upward. Hands below the waist should point downward.
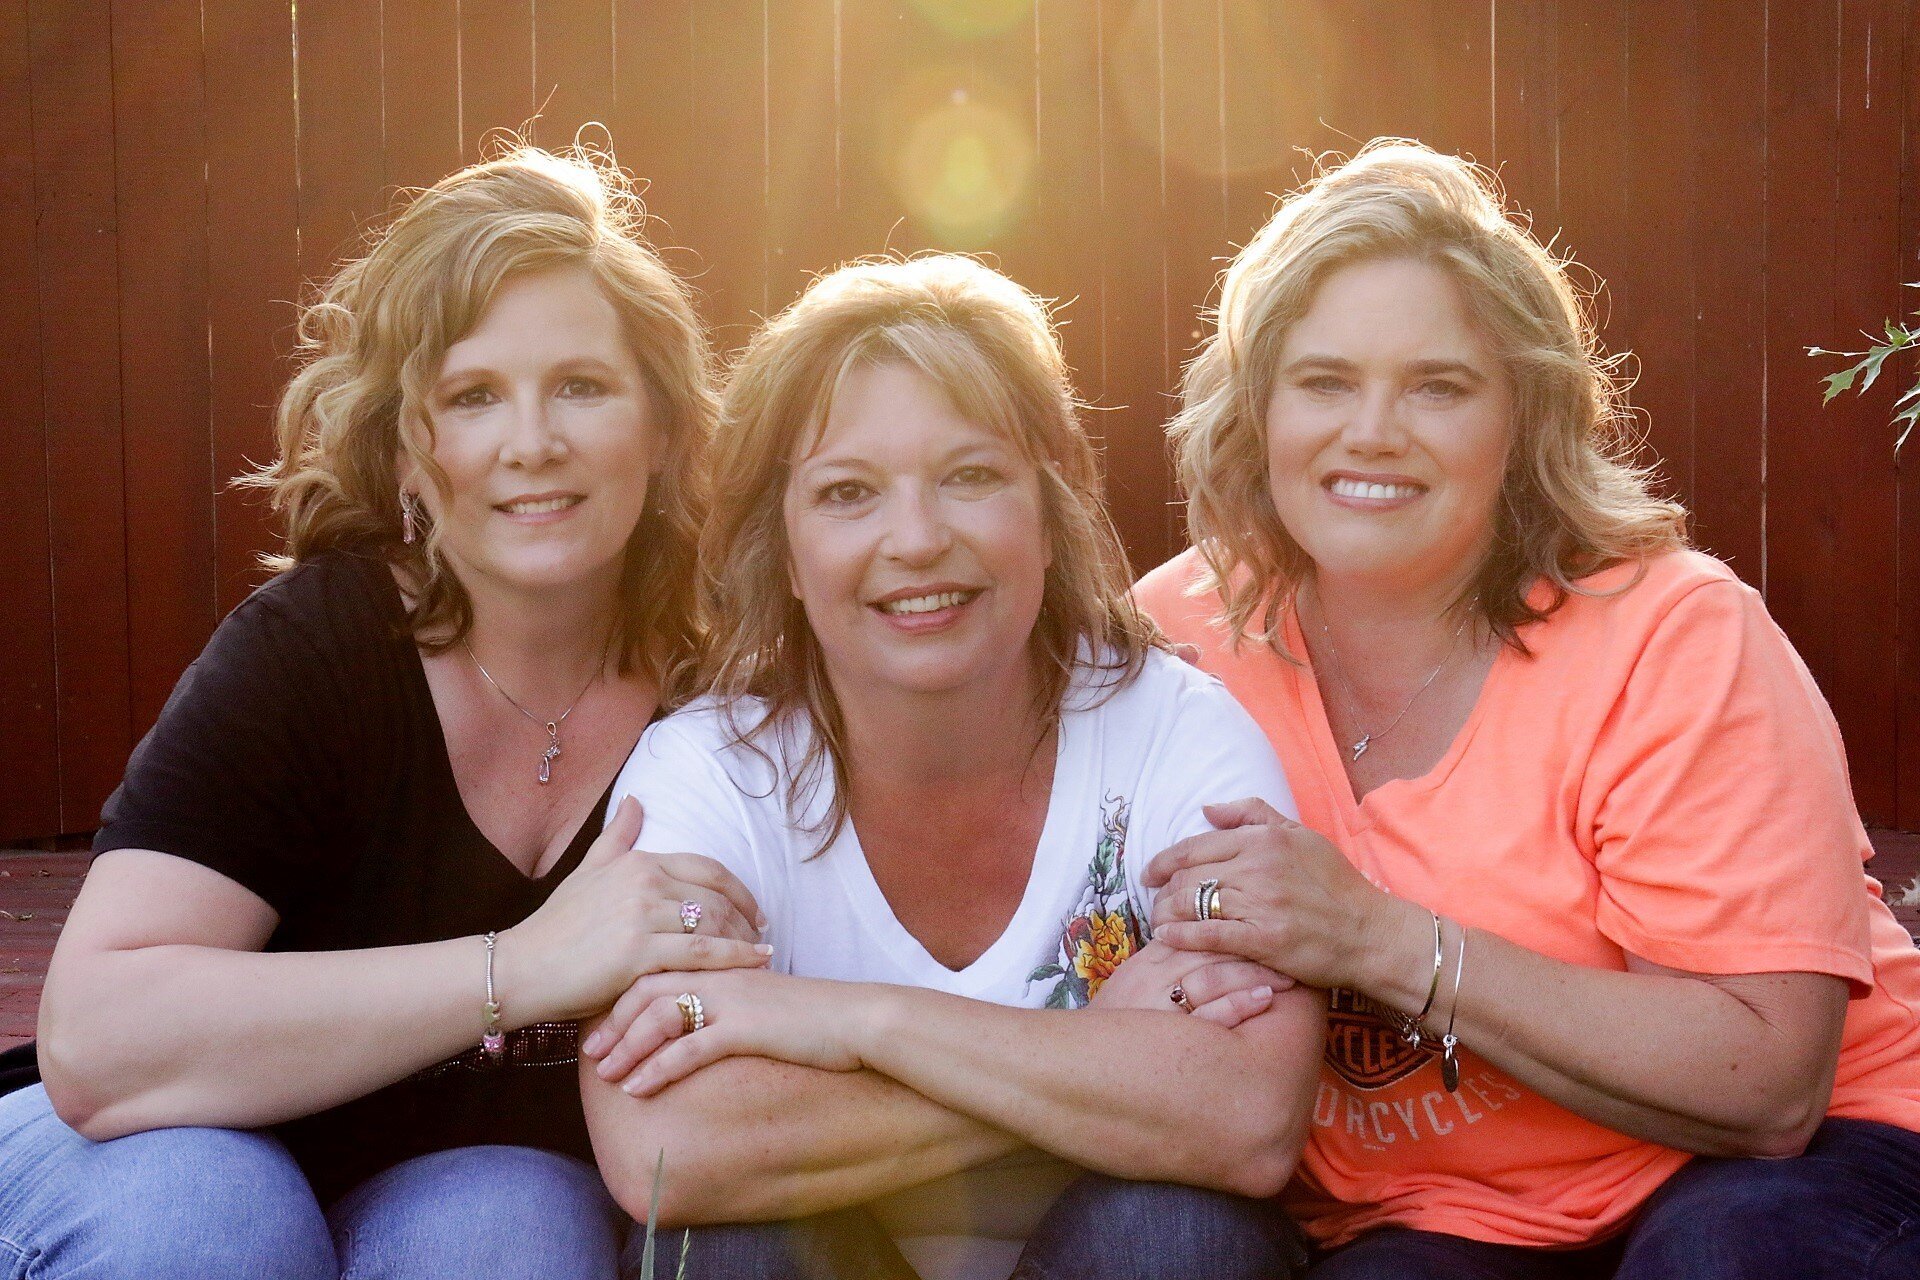
In group photos or couple’s photos, watch out for “hand spiders.” Try to keep the back hand invisible. When people put their arms around each other, the back hand tends to poke out at the oddest places.
When all else fails, hide ‘em.

Feet
Instantly “lose” ten pounds with just your stance! How? Rather than stand facing the camera straight on, angle yourself (45 degrees) to one side, and offset your feet, shoulder width apart. Push your weight to the back foot and kick that booty back away from the camera. Bend your front knee and consider bringing your front foot up until just your toe is touching (depending on the look you want, of course).
Relax Your Face
We tend to hold tension when we’re a bit nervous, so do a quick body check, especially of your forehead, mouth, shoulders, and hands. Relax these parts to look more confident and comfortable.
Seated
If you are about to be photographed while seated, the key to looking your best is to sit on the front edge, rather than leaning back or sunk into the chair.
Perching on the edge of the seat allows you to have good posture. Sitting up straight, even leaning slightly forward, makes you look engaged with your viewer.
You may be able to twist to adjust your angle to the camera, as well, and extend your legs to the side, which is more slimming than straight on.
Previous posing tips (like bending) still apply!
Check for clothing bunching up before the shot, too! You might need to sit on the back of your jacket or unbutton it to keep it smooth.
Groups
If you are part of a group shot, share this tip: turn 45 degrees in to the center, but then open up your shoulders to the camera.
“Safe” connection points for team members are from the shoulder to the elbow. Avoid touching anywhere else, like the waist, unless you have a close, personal relationship.

Selfies
Step up your selfie game!
- Clean your lens. Blurry doesn’t look good.
- Use a stick and timer. Your phone camera is a wide angle lens that distort things that are close to it… like your nose.
- Backgrounds matter! Please watch for straight horizons, and that there is nothing sticking out of your head or neck.
- Phone at eyebrow level.
TL;DR
Whatever is closer to the camera appears larger, so practice in a mirror to get the amount of kick that’s just right for you… and do it enough so you know what it feels like and you can get the right look “on demand.”


